Minimum vs ideal floor space for rabbits and guinea pigs, with practical layouts, storage tips, and common sizing mistakes to avoid.
Rabbit Cove
Build a C&C Cage for Guinea Pigs and Rabbits
Learn how to measure, source grids and coroplast, and assemble a safe, roomy C&C cage for guinea pigs or rabbits. Includes sizing, tools, and troubleshooting tips.

Chloe Miller
Chloe Miller is a dedicated small-pet enthusiast and experienced foster parent who has spent over a decade caring for rabbits and guinea pigs. Through her hands-on work with local animal rescues, she shares practical, compassionate advice on housing, nutrition, and daily enrichment to help small pets thrive. When she isn't designing custom indoor enclosures, Chloe can be found coaxing shy rescues out of their shells with fresh cilantro.
Published
October 22, 2026
Updated
October 22, 2026
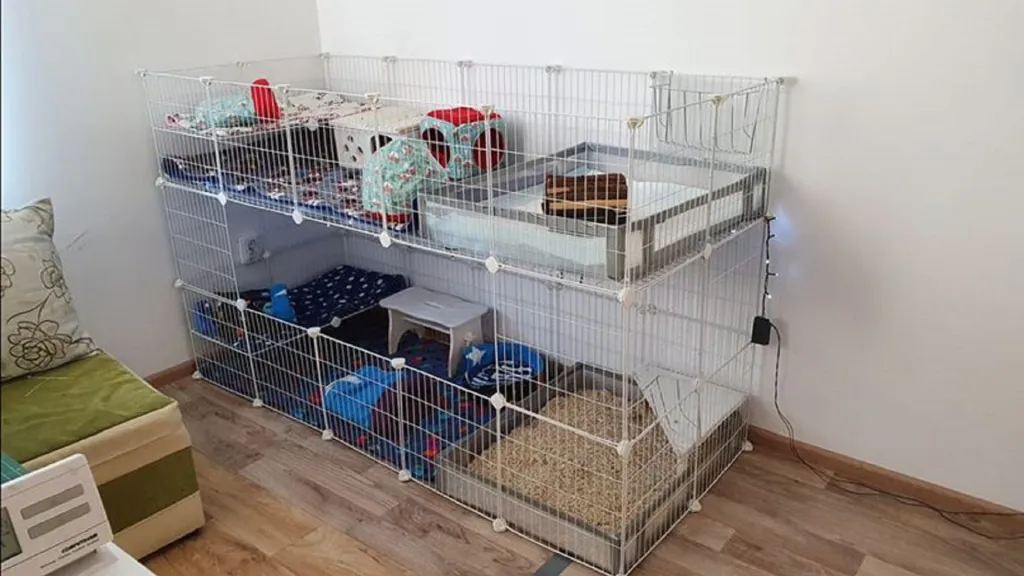
A C&C cage is my favorite kind of “weekend project” because your pets feel the upgrade instantly. More room to zoom, more space to stretch out, and a layout you can actually customize around your home. C&C stands for Cubes and Coroplast: wire storage grids form the walls, and a coroplast (corrugated plastic) tray becomes the base.
This guide walks you through planning, measuring, sourcing materials, and assembling a sturdy enclosure for guinea pigs or rabbits, with the safety tweaks that matter in real life.
Before you build: size and safety
Pet store cages are famously tiny. A C&C build lets you give your pets the square footage their bodies and brains are begging for.
Recommended minimum footprints
Sizes vary across countries and organizations, but many rescue groups and experienced C&C builders use these as practical starting points. Bigger is always better, especially for boars and high-energy pairs.
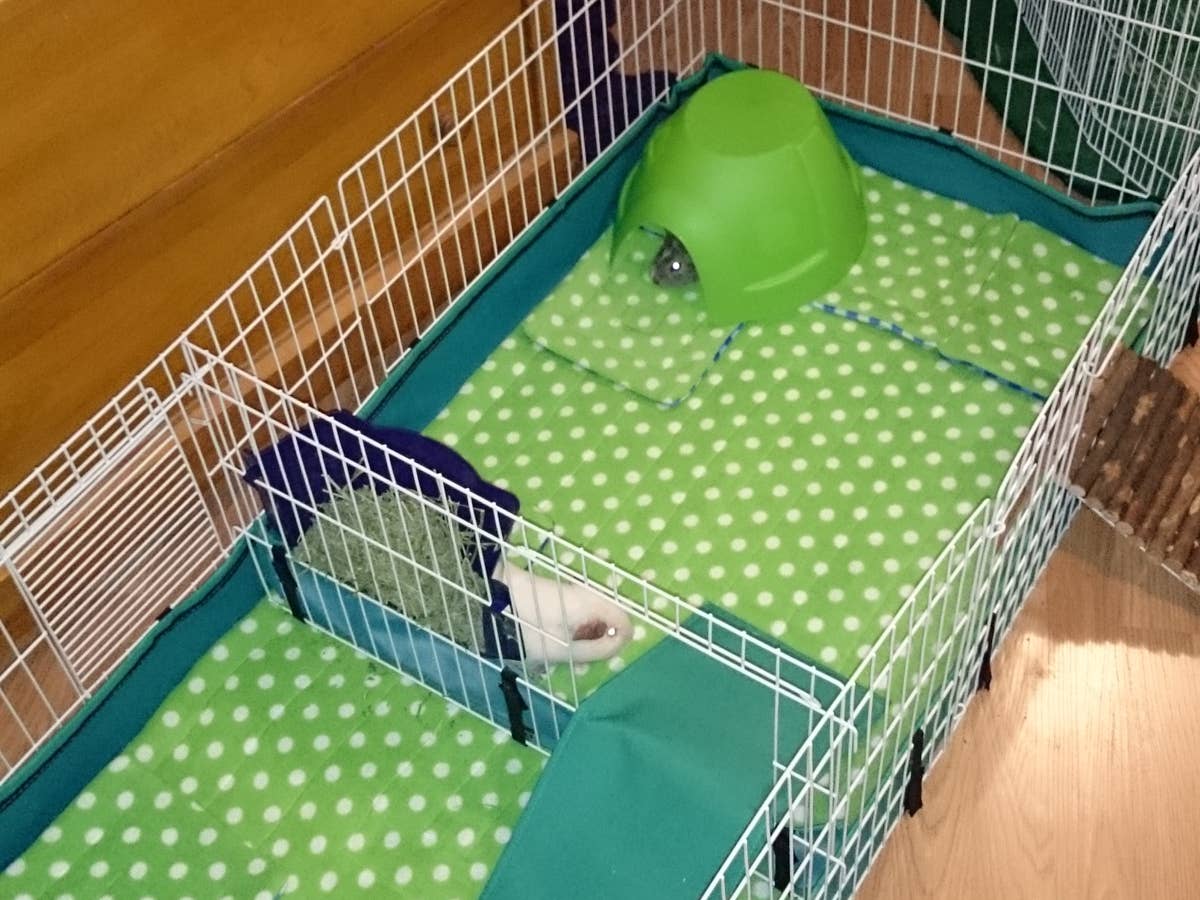
- One guinea pig: 2x3 grids minimum (about 30 x 45 inches).
- Two guinea pigs: 2x4 grids minimum (about 30 x 60 inches). This is a common “sweet spot.”
- Three guinea pigs: 2x5 grids or larger.
- Four guinea pigs: 2x6 grids or larger, or consider a roomy L-shape.
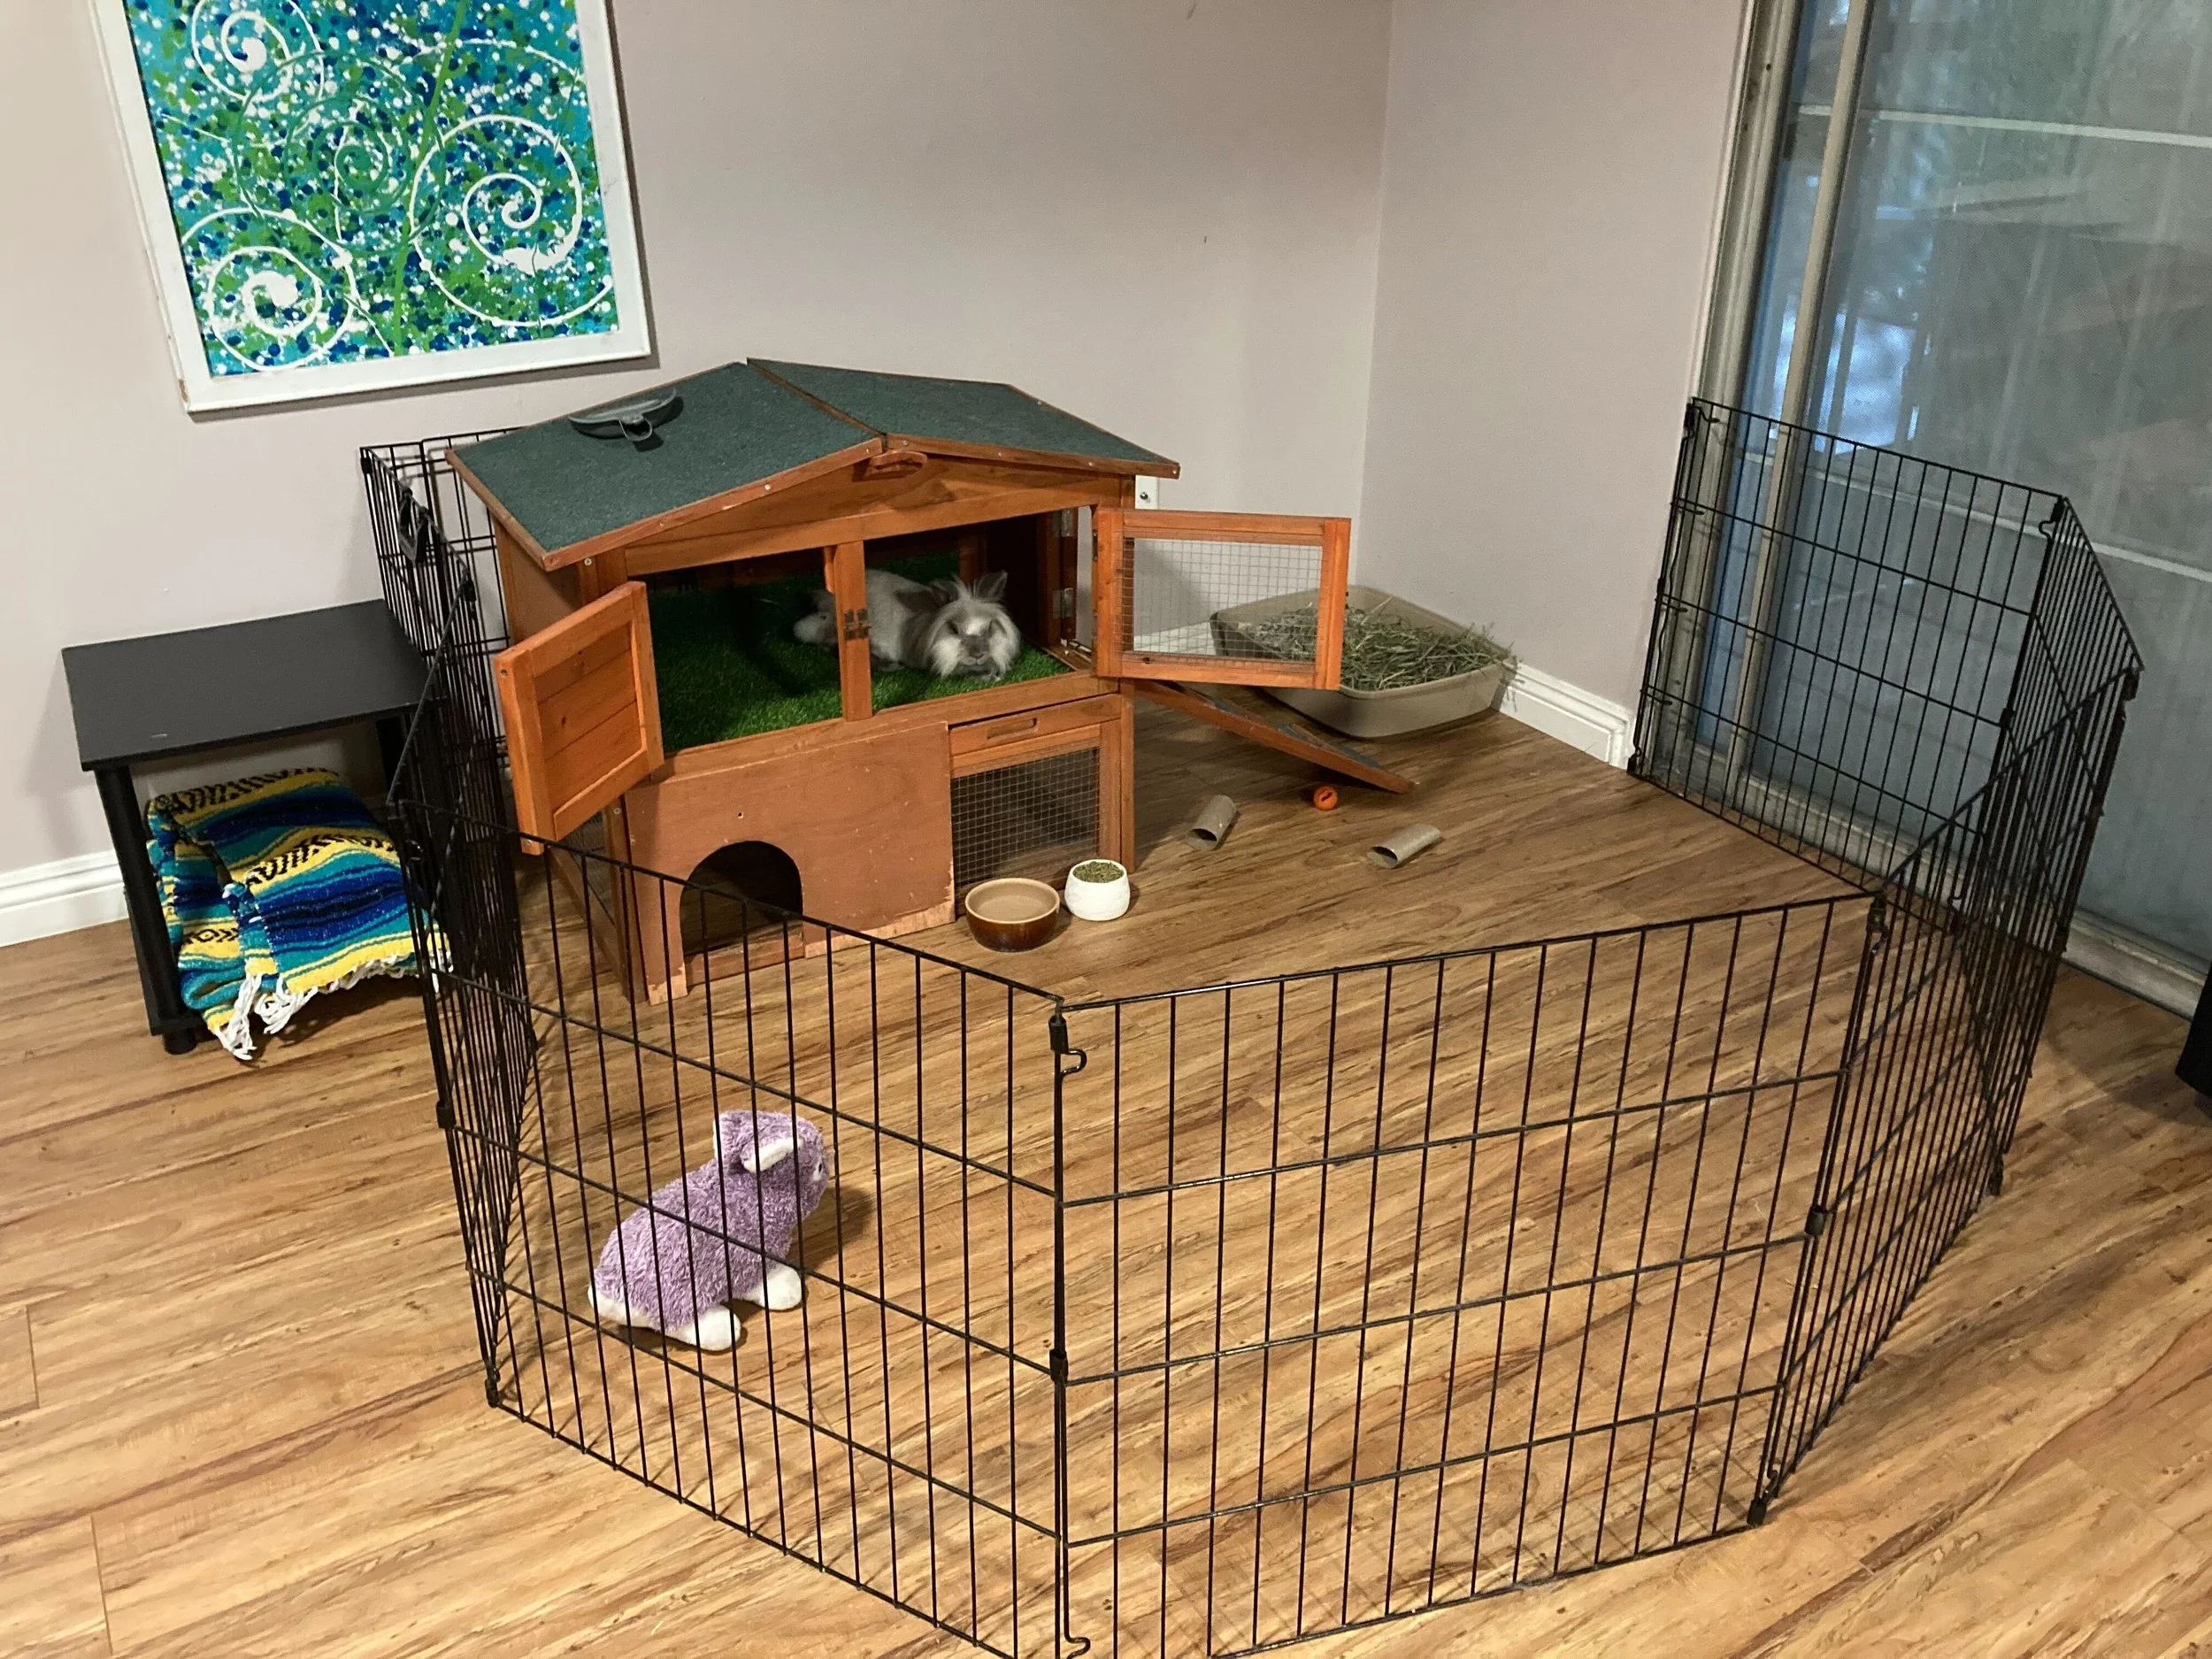
For rabbits, think in terms of open exercise space and run length, not just “cage size.” A C&C setup usually works best as a roomy home base paired with an exercise pen area or daily free-roam.
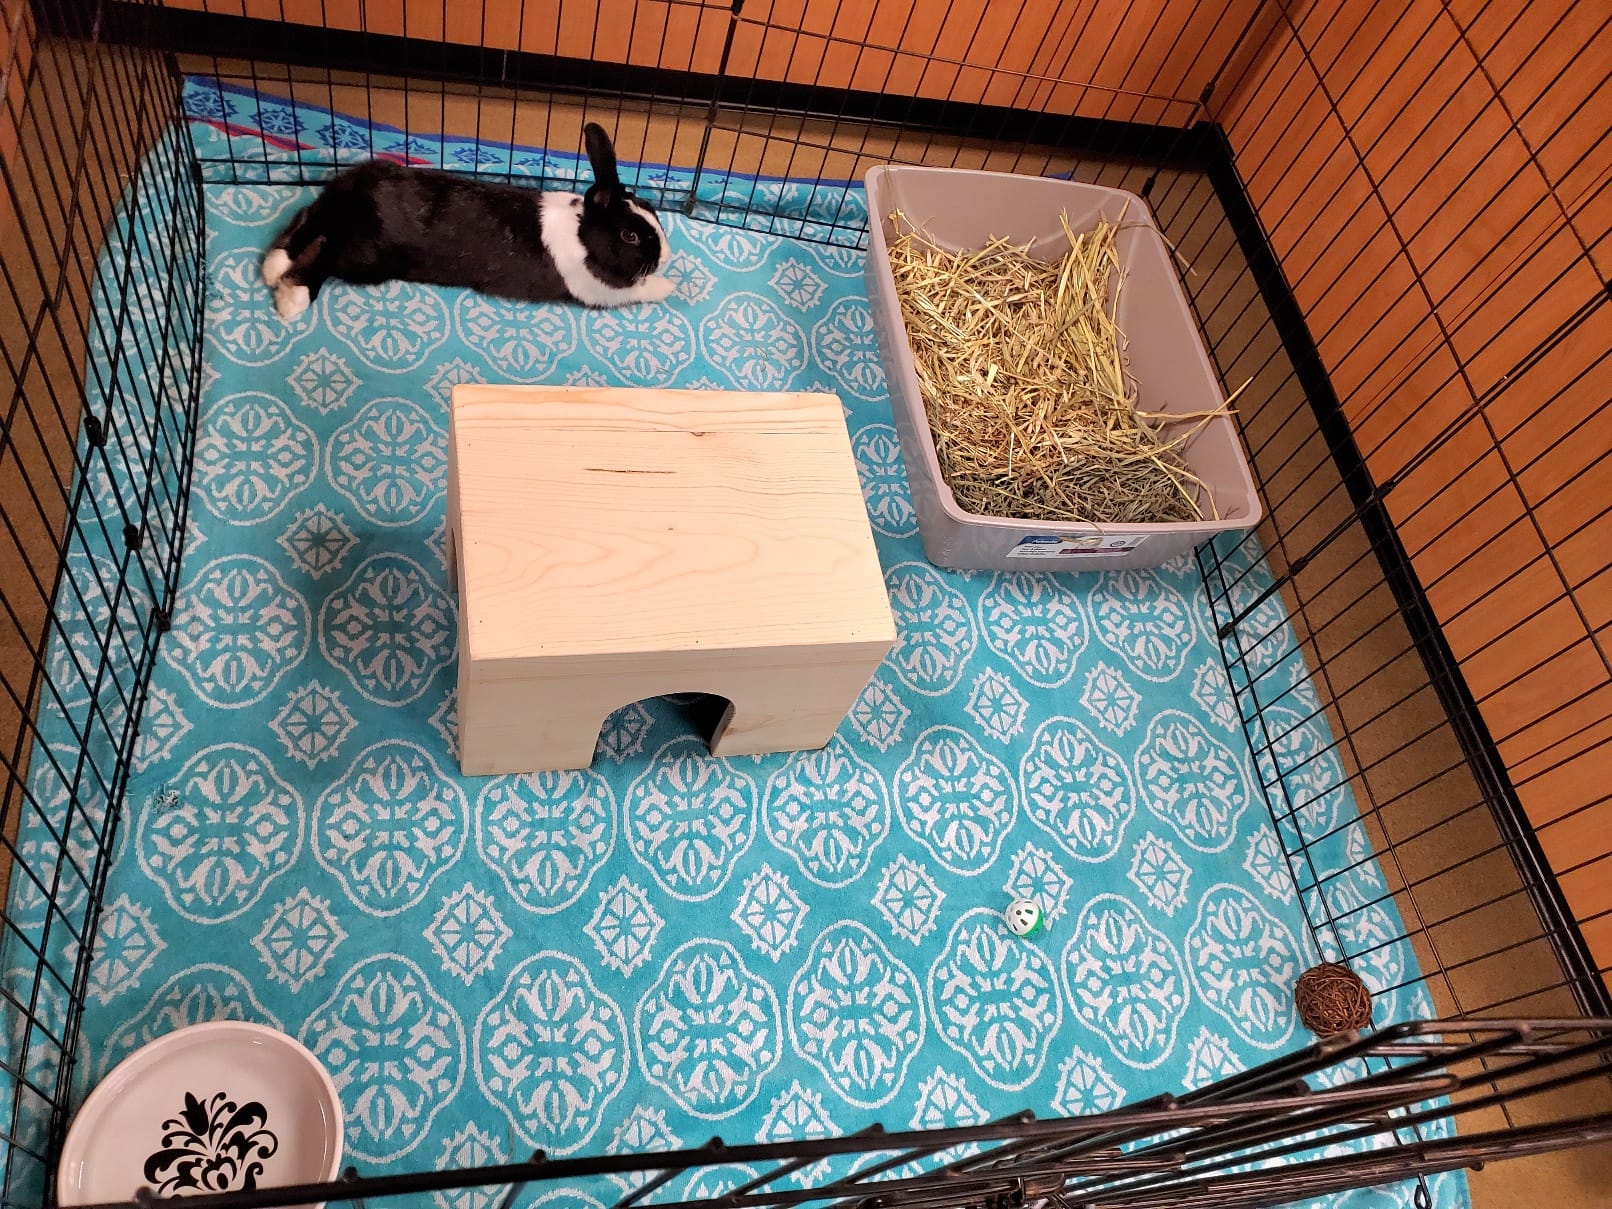
- One rabbit: treat 4x4 grids (about 60 x 60 inches) as a starter home base for small to medium rabbits, and plan on daily free-roam or an attached x-pen footprint as the default.
- Bonded pair: 4x6 grids (about 60 x 90 inches) or larger is far more comfortable, plus plenty of daily exercise time.
One more nudge: bigger continuous footprints or an always-attached x-pen are ideal, especially for medium to large or very active rabbits.
Important: a multi-level C&C can add enrichment, but it does not replace a large, single-level footprint. Floor space is what supports healthy movement.
Grid spacing safety check
Not all “cube grids” are pet-safe.
- Guinea pigs: choose grids with openings around 1 inch (often sold as “baby-safe” grids). A quick way to sanity-check is to count the holes. Many baby-safe panels are marketed as roughly 14 x 14 squares on a panel around 14 inches wide, but products vary, so confirm the actual opening size with a ruler. Avoid the wider about 1.5-inch style panels (often closer to 9 x 9 squares) for guinea pigs, especially youngsters.
- Rabbits: adults are usually fine with standard cube grids, but small rabbits and curious babies can still get into trouble. If in doubt, choose smaller spacing or line the interior with untreated cardboard temporarily while you source safer grids.
Materials and tools
What you need
- Wire storage grids (enough for walls and any lids or loft supports)
- Connectors that come with the grids (optional, not the main strength)
- Zip ties (your real best friend for stability)
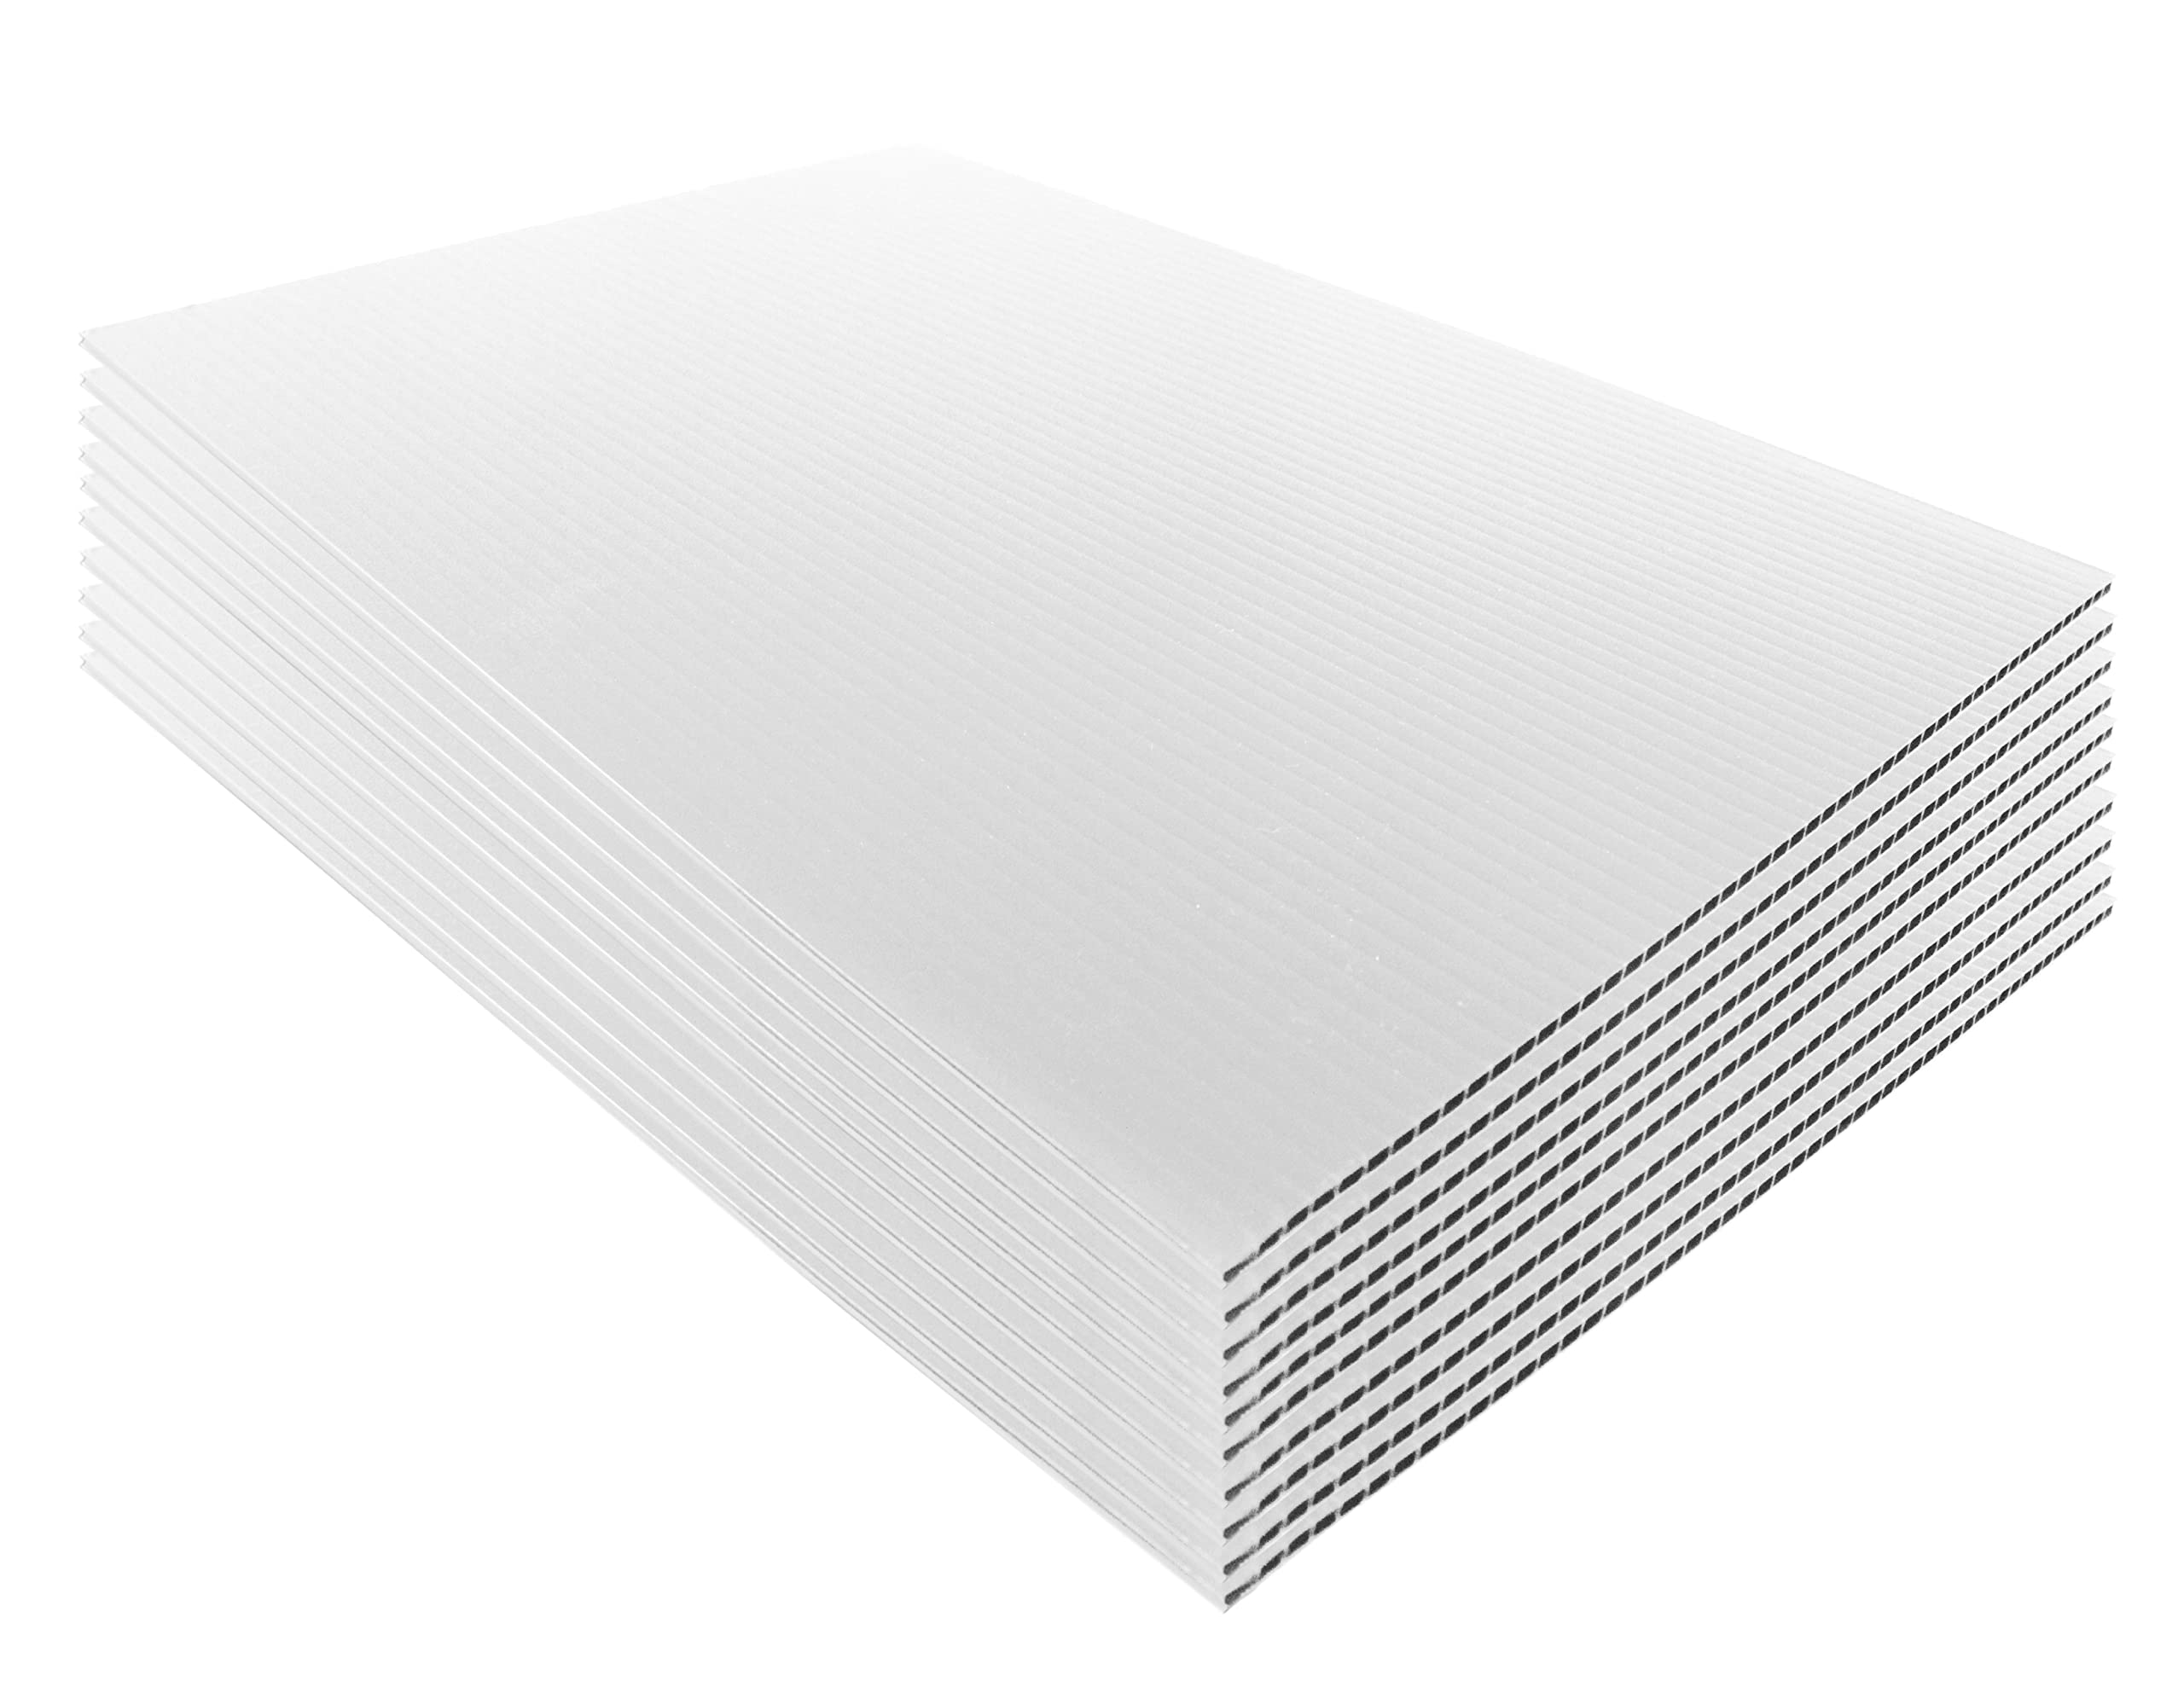
- Coroplast sheet for the base (commonly 4 mm thickness)
- Box cutter or utility knife with fresh blades
- Measuring tape
- Straight edge (metal ruler or long level)
- Marker
- Packing tape or duct tape (used on the outside of the tray)
- Optional: binder clips (great for holding coroplast while you work), sandpaper or a nail file (to dull sharp cut edges), extra coroplast strips for corner reinforcement
Where to buy supplies
- Grids: big box stores, online retailers, or local marketplace listings. If you buy secondhand, inspect for rust, bent wires, and any flaking coating. Give them a quick wipe-down before you build.
- Coroplast: sign shops are my go-to. Ask for a full sheet. Some hardware stores carry smaller panels.
Step 1: Plan your layout
Decide your footprint first, then decide what extras you want.
Popular beginner layouts
- 2x4: excellent for two guinea pigs, also a nice “starter base” for a free-roam rabbit area.
- 2x5 or 2x6: wonderful for a guinea pig herd, or for owners who want more room for a kitchen area and larger hides.
- L-shape: fits apartments well and creates a natural “kitchen corner.”
Pick a wall height
- Guinea pigs: 1 grid high is typically fine unless you have athletic climbers or kids and pets in the home. Two grids high adds peace of mind.
- Rabbits: plan for 2 grids high minimum, and consider a lid or a taller exercise-pen style extension if your rabbit is a jumper.
Heads up: if you plan a loft, keep it low and safe. Guinea pig lofts should be gentle and well-guarded. Rabbits can use platforms too, but they also need clear traction and safe edges.
Step 2: Measure for the coroplast base
Your coroplast tray is basically a shallow box: one flat rectangle with four sides folded up from the same sheet.
Pick a tray wall height
- Guinea pigs: 4 to 6 inches is a nice range, especially for bedding control.
- Rabbits: 6 inches helps contain hay and litter scatter, but keep entrances easy if your rabbit is elderly or has mobility issues.
The measuring formula
This formula assumes a single-piece tray where the walls fold up from the same sheet (no separate side panels).
Measure the inside footprint of your grid rectangle, then add your wall height on all sides. The wall height is the distance from your fold line to the outer edge.
Coroplast cut size = (cage length + 2 x wall height) by (cage width + 2 x wall height)
Example: If your inside footprint is 30 x 60 inches and you want 6-inch walls, cut your coroplast to 42 x 72 inches.
Tip: measure the actual grids you purchased. “Standard” grid sizes vary slightly.
Step 3: Cut, score, and fold coroplast
This is the part that looks intimidating until you do it once.
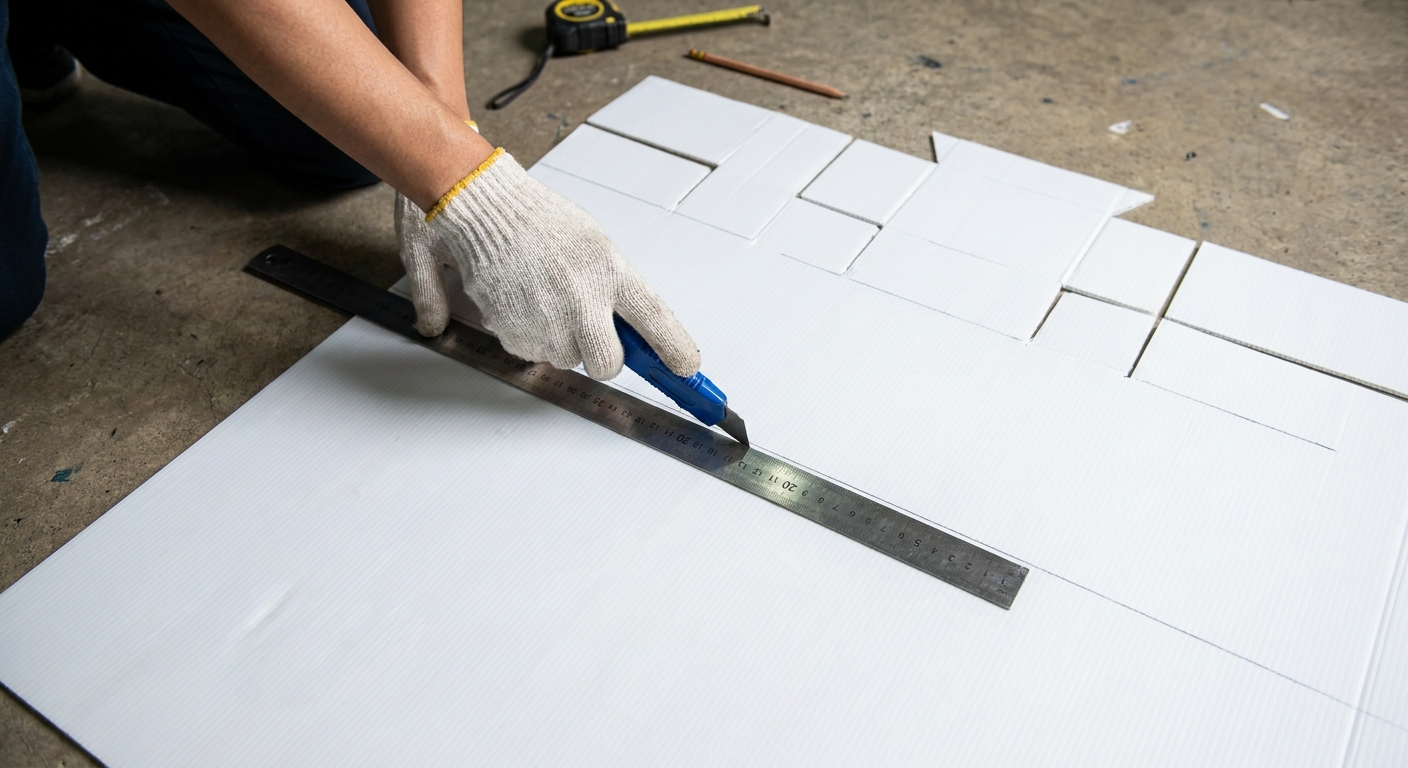
Mark your fold lines
- Lay the coroplast flat with the cleaner side facing down (so the nicer side becomes the inside of the tray).
- From each edge, measure in your wall height and draw a line. You should end up with a rectangle in the center that matches your cage footprint.
Score, do not slice through
Use a straight edge and lightly cut along the fold lines. You want to cut through the top layer only, not all the way through. Scoring lets the coroplast fold cleanly.
Quick nerdy tip: coroplast has “flutes” inside. Scoring parallel to the flutes usually folds cleaner. If your sheet fights you, rotate your plan if you can.
Cut the corners
At each corner, you will have an overlap area. One simple method is to cut out small corner squares so the sides fold up without bunching. Other tutorials use tabs that fold and tape. Either way works as long as the corners end up tight and chew-resistant.
Whatever method you choose, cut only up to the fold lines so you do not accidentally weaken the tray walls.
Fold and tape the corners
- Fold the walls up along your scored lines.
- Bring the corner edges together and tape them on the outside of the tray.
Chew note for rabbits: most rabbits will investigate exposed edges. If your rabbit is a dedicated coroplast connoisseur, plan to add edge guards (more on that below).
Step 4: Assemble the grid frame
Build the rectangle
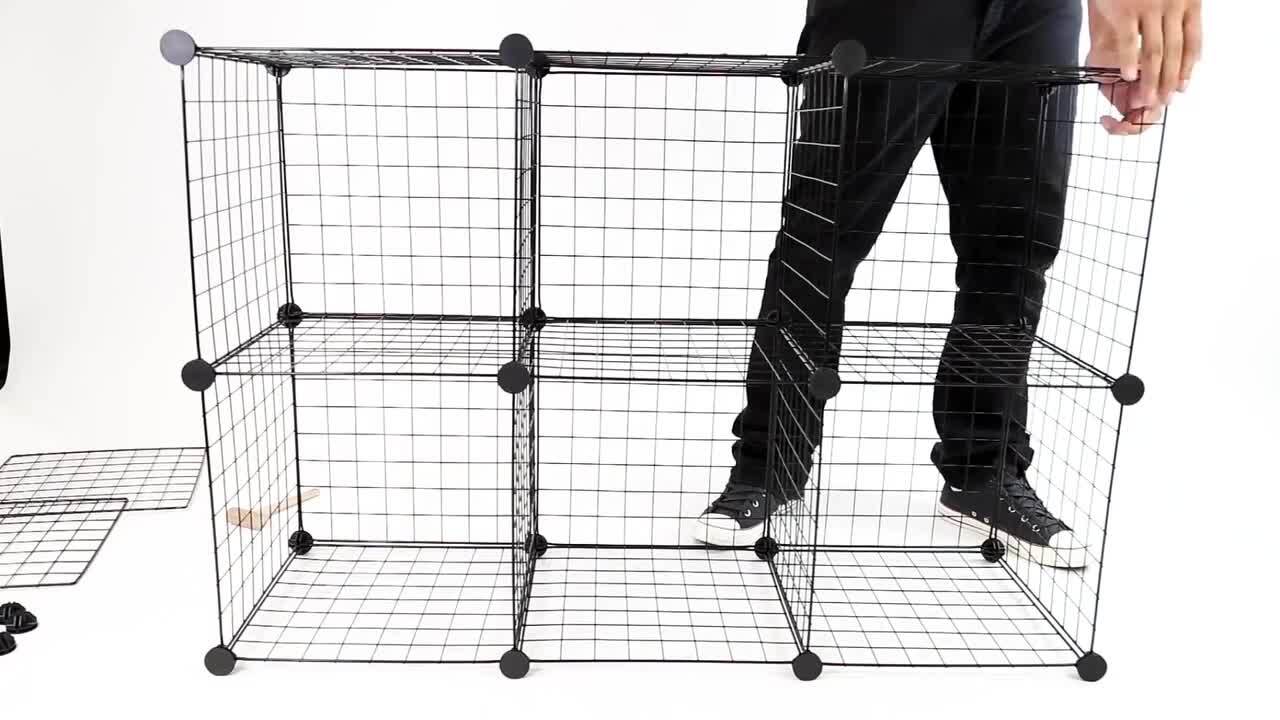
- Lay grids on the floor in your planned footprint.
- Connect corners with connectors if you have them, then reinforce every seam with zip ties.
- Pull zip ties tight and snip the tails flush, with cut ends facing outward so nothing sharp points into the cage.
I use connectors as “third hands” and rely on zip ties for strength. A good rule is at least two zip ties per shared edge, plus extra at corners.
If you find any sharp spots (especially on secondhand grids with chipped coating), sand them smooth or cover them so no one gets scraped.
Add a door
A front door makes cleaning and piggy lap time so much easier.
- Create a door by zip-tying one grid panel on one side like a hinge. Use several ties down the hinge side so it does not sag over time.
- Use two binder clips or a couple reusable zip ties as latches.
- Do a quick hand-sweep inside the door area to confirm there are no sharp wire ends or zip-tie nubs where noses will rub. Rotate cut zip-tie ends outward whenever you can.
Consider a lid
If you have cats, dogs, or a rabbit who can hop out, a lid is safety equipment, not an accessory.
- Build a simple hinged lid with grids and zip ties.
- Make sure it opens easily for daily chores.
- For rabbits, confirm the lid height still allows comfortable upright sitting and movement. Most rabbits also need exercise time outside the enclosure every day.
Step 5: Fit the tray and secure it
- Set the coroplast tray inside the grid frame.
- Check that the tray sits flat with no bowing.
- If the tray shifts, add a few zip ties through the grid and around the tray lip, or use binder clips along the top edge.
Wobble test: gently shake the grids. If anything flexes, add more zip ties. A solid C&C should feel like one unit.
If your cage sits near a sunny window, remember that UV exposure can make zip ties brittle over time. It is not a reason to skip the project, just a reason to inspect ties more often and replace any that look chalky or cracked.
Step 6: Make it chew-safe and comfy
Rabbit-proof coroplast edges
Some rabbits ignore coroplast. Others treat it like a crunchy hobby. If your bunny starts chewing:
- Add edge guards: split a length of clear vinyl tubing and slide it over the tray edge. Avoid soft tubing that can be easily shredded and swallowed, and supervise determined chewers.
- Use untreated wood as a chew strip: untreated kiln-dried pine can work well along problem areas when secured to the outside of the grids. Keep it free of staples, glue, nails, screws, or finishes.
- Block access: rearrange furniture inside the enclosure so your rabbit cannot perch with teeth on the edge.
Avoid bitter sprays. They are unreliable, can be stressful, and may not be appropriate for every pet. If you are considering one, ask your vet first.
Flooring options
Choose a setup that supports clean feet and easy cleaning. Also, skip anything slick. Rabbits and guinea pigs need traction, and wire flooring is a hard no.
- Fleece over absorbent layers: popular for guinea pigs and indoor rabbits. Use washable pads or towels underneath.
- Paper bedding: easy to spot clean, great for pigs who are still learning litter habits.
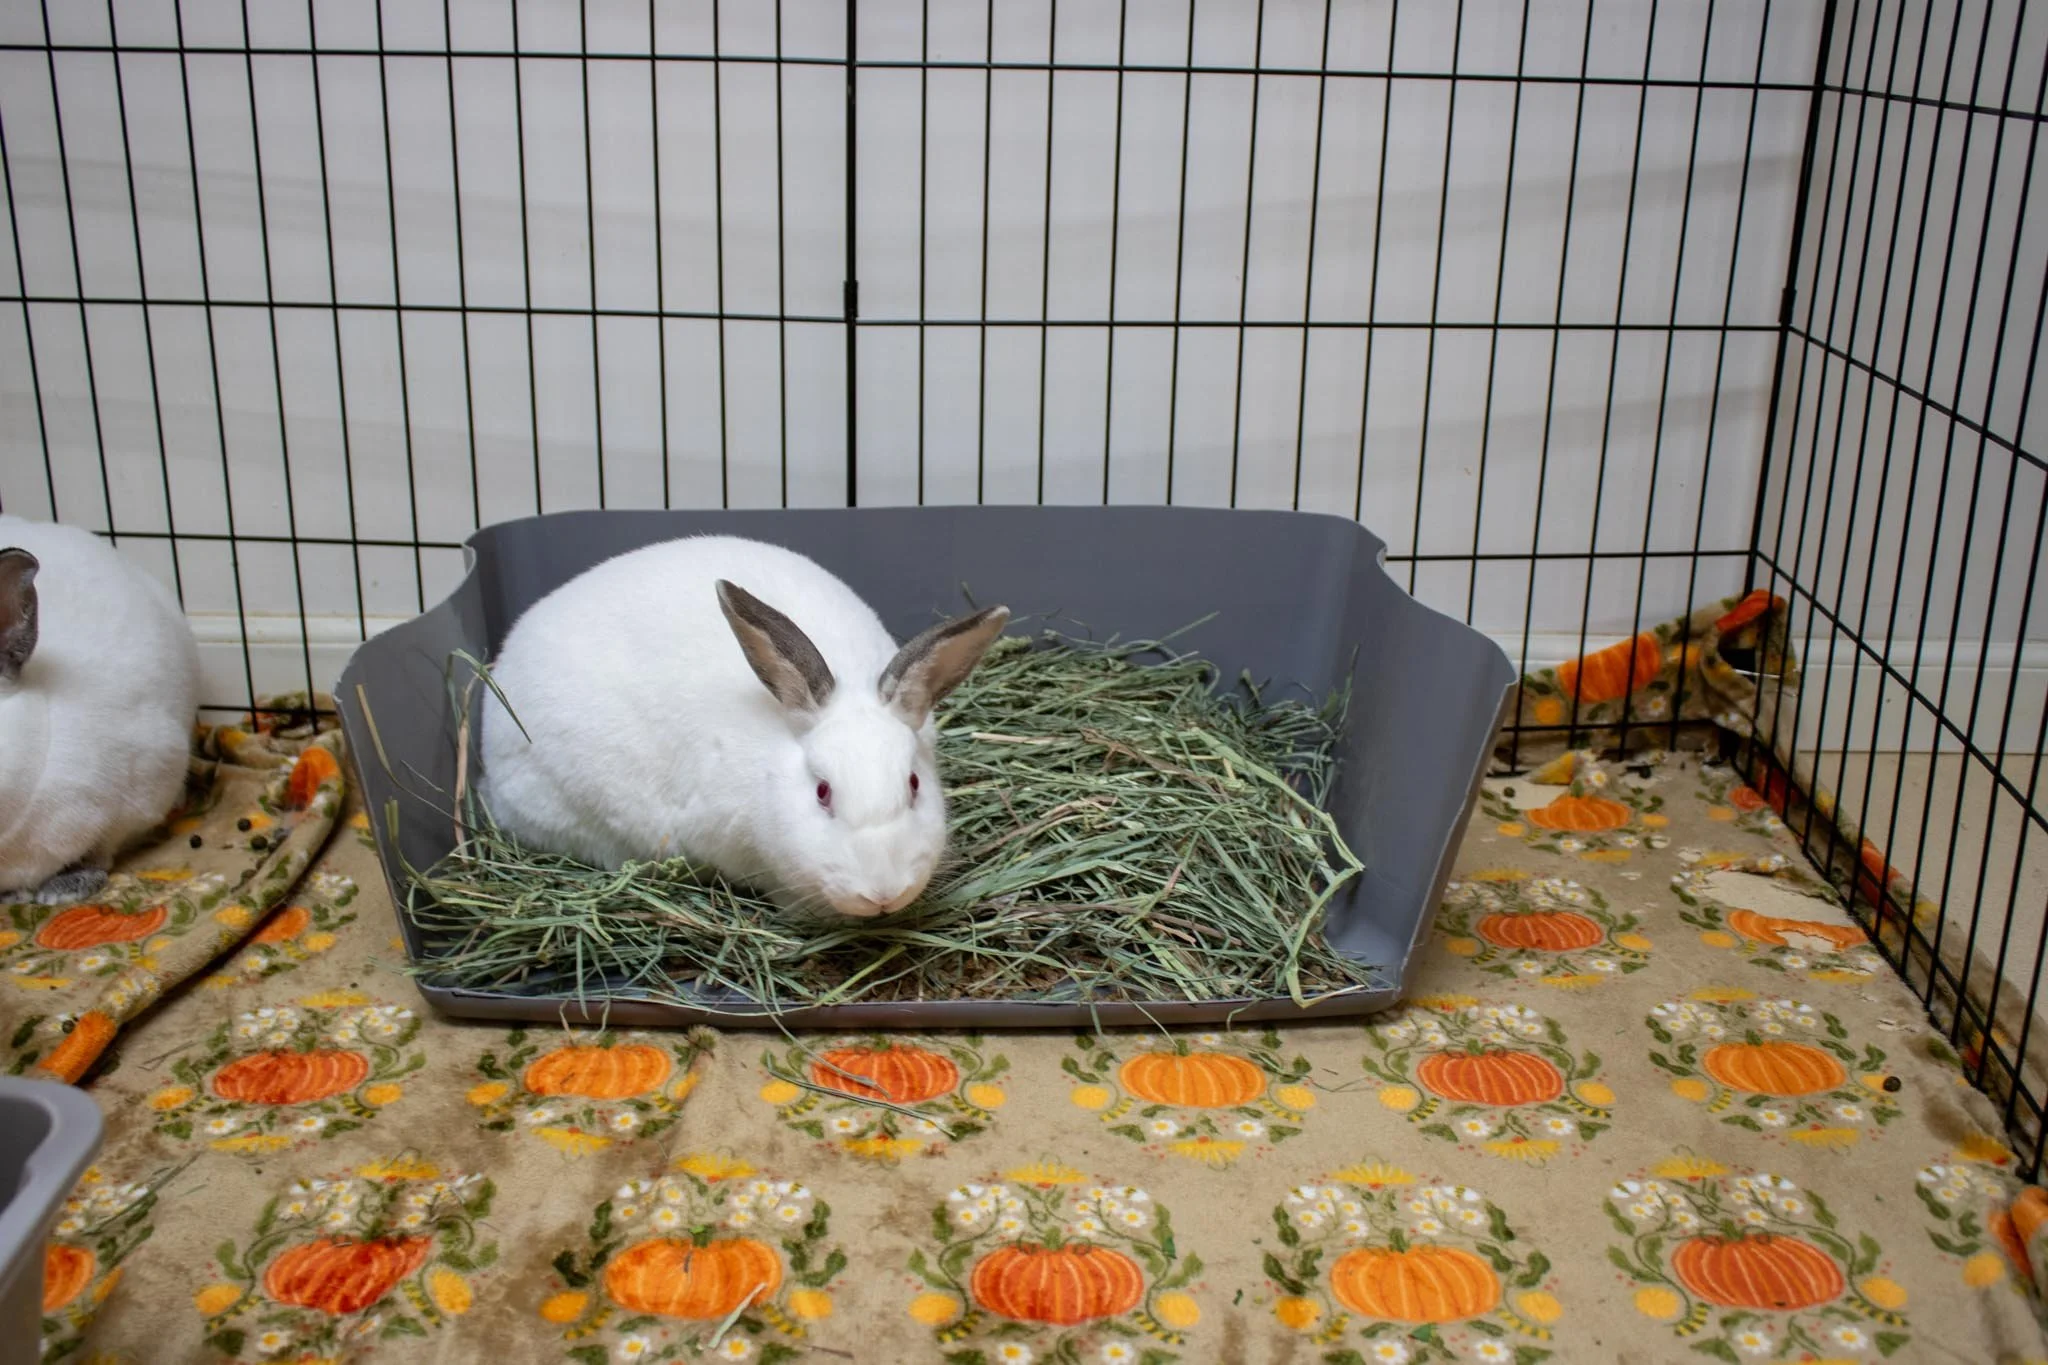
- For rabbits: most do best with a large litter box plus washable, grippy flooring, not loose bedding wall-to-wall. Aim for a solid, non-slip surface everywhere your rabbit will regularly stand or launch from.
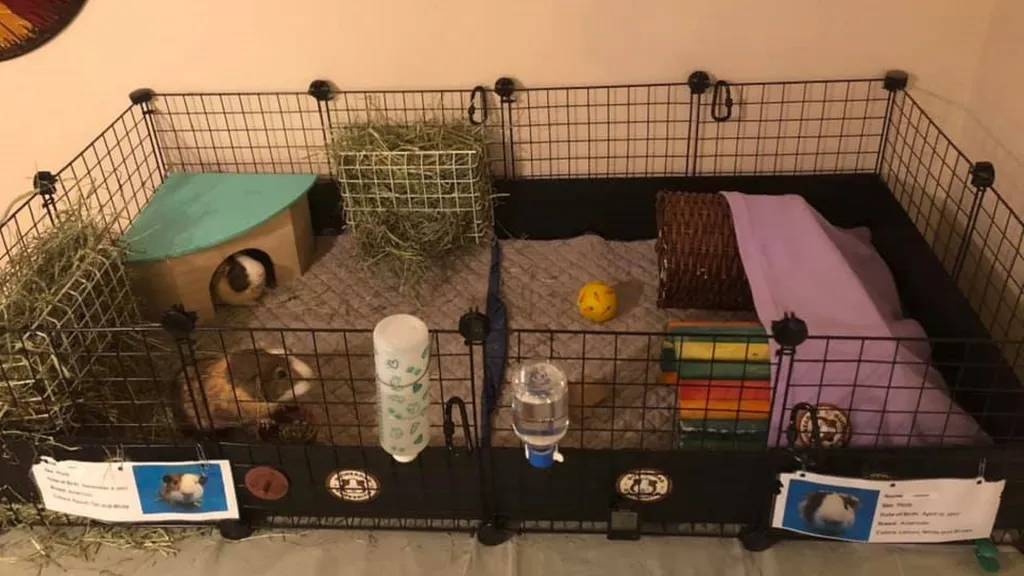
Create zones
- Hay area: hay rack or hay pile beside the litter box or “kitchen” zone.
- Hideouts: at least one hide per guinea pig, and at least two exits per hide when possible to reduce squabbles.
- Water: bowls are fantastic for rabbits. Guinea pigs may use bottles, bowls, or both.
- Enrichment: tunnels, paper bags (handles removed), cardboard castles, and scatter-fed veggies.
Upgrades worth doing
A built-in kitchen area
If you want easier cleaning, designate one end as the “kitchen”:
- Place a low-sided tray or shallow pan for hay and litter.
- Use paper bedding in that zone even if the rest is fleece.
- Keep the main lounging area softer and drier.
A safe loft
Lofts are best when they are wide, stable, and easy to climb.
- Use a gentle ramp with solid sides.
- Add traction like fleece, a rubber-backed runner, or seagrass mats (watch for chewing).
- For guinea pigs: keep the loft modest and the edges tall enough to prevent tumbles.
Stand or tabletop base
Raising a cage can save your back and keep curious dogs out.
- Use a sturdy table, shelving unit, or a purpose-built wood frame.
- Confirm the surface is perfectly level and supports the full cage weight.
Common mistakes
- Using wide-opening grids for guinea pigs: head entrapment risk. Choose smaller spacing.
- Relying only on connectors: connectors pop. Reinforce with zip ties.
- Walls too short for rabbits: if your rabbit can hop it, they will hop it. Go taller, add a lid, or plan for an x-pen style setup.
- Making a steep ramp: steep ramps cause slips and stress. Build longer, gentler inclines.
- Cutting all the way through when scoring: score lightly. You can always deepen the line.
- Putting tape inside the tray: tape belongs outside where it cannot be chewed or gunked up.
Cleaning and maintenance
Daily
- Refresh hay.
- Scoop litter areas.
- Spot clean wet corners.
Weekly (or as needed)
- Replace bedding or swap fleece sets.
- Wipe coroplast with pet-safe cleaner or diluted white vinegar, then rinse and dry.
- Check zip ties and replace any that have loosened or become brittle.
Safety note: never mix vinegar with bleach, and always rinse thoroughly and let everything dry before pets go back in.
If you run fleece, having two full sets makes life wildly easier. One in the cage, one in the wash.
FAQ
Is coroplast safe for guinea pigs and rabbits?
Yes, coroplast is widely used for small-pet enclosures because it is waterproof and easy to sanitize. The main issue is chewing, especially with rabbits. If your pet chews it, add edge guards and increase enrichment and hay access.
Can I build a C&C cage without coroplast?
You can, but you still need a waterproof base. Some people use shower pan liners, large plastic trays, or custom-made bases. Coroplast remains the easiest to cut and clean for most households.
How many grids do I need?
Count the panels in your footprint, then add panels for height, doors, and any lids or loft supports. As a rough starting point, a simple 2x4 at 1 grid high uses about 12 to 14 grids depending on how you build the doorway and whether you double up reinforcement.
Can rabbits live in a C&C cage full time?
Many rabbits do wonderfully with a C&C setup as a home base when paired with daily free-roam time or an attached exercise pen area. The key is space, traction, and chew-proofing around edges and corners.
Final check
Your cage is “done” when it feels boringly sturdy. Your pets do not care if the zip ties are color-coordinated. They care that the walls do not wobble, the floor is comfortable, and the layout makes it easy to eat, hide, nap, and sprint like tiny athletes.
If you build your first C&C and immediately start dreaming up version 2.0, welcome to the club. I have designed more “simple” cages than I can count, and somehow they all end with me holding a bunch of cilantro, negotiating with a shy foster like I am hosting a very small, very leafy peace summit.